Category:Ambuscade
|
Getting Started
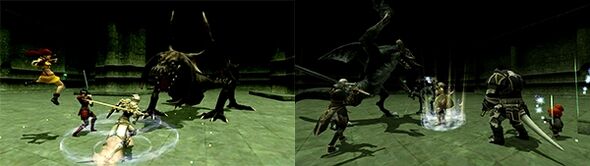
Complete the Stepping into an Ambuscade Records of Eminence objective and speak with Gorpa-Masorpa in Mhaura at (G-9) for an explanation about Ambuscade.
- Players must have completed the First Step Forward Records of Eminence objective in order to undertake Stepping into an Ambuscade.
- Stepping into an Ambuscade can be set from the Tutorial section of the Records of Eminence menu under Basics:
- Quests → Objective List → Tutorial → Basics → Stepping into an Ambuscade
Be in possession of either the Ambuscade Primer Volume One or Volume Two Key Items.
- All party members must be in possession of one of these two Key Items.
Eligibility Requirements
In order to participate, players must satisfy the following:
- Complete either the Ambuscade Primer Volume One or Volume Two objectives in order to obtain the Key Item for the corresponding volume of the primer for the type of battle players wish to complete.
- Players may have only one of each of the Ambuscade Primer Key Items.
- Objective targets vary by month after a version update, opponents are rotated out, and generally not repeated.
- Players may have only one of each of the Ambuscade Primer Key Items.
- The Ambuscade Primer Volume One and Two objectives can be undertaken from the Ambuscade category of the Records of Eminence menu.
Entry and Progression
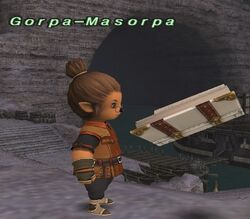
- Examine the Ambuscade Tome in Mhaura (G-9) and select the type and difficulty level you would like to attempt.
- Only the party leader may register the group.
- The party will be registered so long as the system detects that there are no issues with the layer area or registering party members.
- Players will be unable to register if:
- Any player is not in possession of an Amuscade Primer Volume One or Two Key Item.
- The number of registrants exceeds the maximum of fifty reservations.
- A party member already has a reservation.
- To cancel a reservation:
- A player may cancel their reservation via the ambuscade tome.
- Three minutes has passed from the time the player is notified that their instance is ready.
- The registrant boards a boat.
- The registrant leaves Mhaura in any way.
- To cancel a reservation:
- Players will be unable to register if:
- Adding new party members after registration will not cancel the registration, but the party may only enter with the number of players it registered with.
- A message will display for the party leader when entry is ready.
- As of the July 2016 update[3], automatic entering was added.
- The default setting is "off" and may be changed by having the party lead examine the Ambuscade Tome and selecting the Toggle auto-transport function.
- In line with this, having the auto-transport function off has a notification sound played when it is the party's turn.
- This may be disabled via the sound settings in the Config menu.
- As of the July 2016 update[3], automatic entering was added.
- Examine the ambuscade tome within three minutes to enter.
- The time limit for an Ambuscade is 30 minutes (Earth time).
- Between 1~6 players may participate.
- Trusts may be called after entering Maquette Abdhaljs-Legion.
- The number of alter egos that may be called forth will depend on the number of players initially registered.
- Player HP and MP will be restored to full and any status ailments they are suffering from will be removed upon entry.
- Trusts may be called after entering Maquette Abdhaljs-Legion.
- Key Items will only be lost upon victory.
- Meaning that should a player or group lose, they may reattempt the battlefield without having to reacquire new Key Items.
- As of the August 2022 update[4], Exemplar Points are no longer gained or lost in Ambuscade.
Upon victory, a special currencies known as Hallmarks and Badges of Gallantry, which may be exchanged for rewards, Experience/Limit Points, and Capacity points will be given to all players.
- Notorious Monsters inside Ambuscade do not drop any treasure directly.
Battle Information
A Word On Enmity
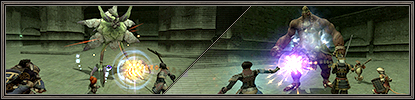
- Enmity functions abnormally in two ways.
- The mobs will go to a random player once someone aggros.
- After aggro everyone is on the hate list by default, so you can easily get hate with AOE enmity actions like Warcry and Valiance or self target enmity actions like Foil and Pflug.
Battle Type & Levels
There are two types of Ambuscades you may attempt. Entry into either is determined by which Key Item you possess.
Note: Hallmark and Gallantry values have been updated to reflect the changes implemented in the May 2026 Version Update.
|
| ||||||||||||||||||||||||||||||||||||||||||||||||||||||||||||||
An  Abdhaljs Seal will triple the amount of hallmarks and gallantry you receive from a successful Ambuscade.
Intense Ambuscade (Vol. One)
| Volume 1, October 2026, Meeble | ||||||||||||||||||
|---|---|---|---|---|---|---|---|---|---|---|---|---|---|---|---|---|---|---|
Notes:
Uses the following moves:
Setups and Strategies: Very Difficult:
Difficult:
Key Item Locations:
|


Regular Ambuscade (Vol. Two)
| Volume 2, October 2026, Plantoids | ||||||||||||||||||
|---|---|---|---|---|---|---|---|---|---|---|---|---|---|---|---|---|---|---|
Notes:
Uses the following moves:
Casts the following spells:
August 2024 version has the following bonus Hallmark mechanic. Performing the following actions will spawn Balloons from each NM. Each Balloons grants 100 Hallmarks upon defeat.
Setups and Strategies:
Key Item Locations:
|
Previous Battles
Old battlefield information is stored on the Ambuscade Archive page.
Rotation Order
Note: This list is unofficial, based on the historic order, and subject to change at any time.
2026
- 01/2026 Lamia
- 02/2026 Fomor
- 03/2026 Velkk
- 04/2026 Antica
- 05/2026 Tonberry
- 06/2026 Sahagin
- 07/2026 Qiqirn
- 08/2026 Meeble
- 09/2026 Qutrub
- 10/2026 Dullahan
- 11/2026 Moogle
- 12/2026 Magic Mamool
2027
- 01/2027 Ironclad
- 02/2027 Doppleganger
- 03/2027 Corse
- 04/2027 Goblin
- 05/2027 Orcs
- 06/2027 Quadav
- 07/2027 Yagudo
- 08/2027 Gigas
- 09/2027 Mamool
- 10/2027 Troll
- 11/2027 Frog
- 12/2027 Soulflayer
Rewards
See Ambuscade Rewards for specific item and equipment rewards.
Hallmarks
Hallmarks are the primary currency of Ambuscade. They can be used to purchase items from Gorpa-Masorpa.
There are two types of rewards available. Those received in exchange for Hallmarks and those received for total amount of hallmarks accumulated.
- Hallmarks are not expended upon receiving items from the list of rewards for total amount of hallmarks accumulated.
- The types of items available vary with the content of that month’s Ambuscade.
- Your total number of hallmarks will reset back to 0 after each month's version update.
- Hallmarks and Badges of Gallantry are reset upon the next month's version update being implemented (usually set to happen from around the 3rd to the 10th of a month).[5]
Gallantry
Badges of Gallantry are the secondary currency of Ambuscade. They can be used to purchase items from Gorpa-Masorpa, and are only given to those who participate in Ambuscade with other players.
- Like Hallmarks, your Badges of Gallantry will reset back to 0 after each month's version update.
- Hallmarks and Badges of Gallantry are reset upon the next month's version update being implemented (usually set to happen from around the 3rd to the 10th of a month).[6]
Monthly Adventurer Campaigns
There is one type of campaign that may run any given month.
Ambuscade Point Bonus Campaign
- When this Monthly Adventurer Campaign is active, hallmarks and badges of gallantry will yield triple the normal amount once per day when participating in each Ambuscade difficulty level.
- This bonus will reset at Japanese Midnight Earth time and stacks additively with the effects of Abdhaljs Seals to yield a total of five times the normal amount.
- As of April 2026, the description on the official website incorrectly states that rewards will be doubled, with four times the normal rewards being received when using a seal.
- This bonus will reset at Japanese Midnight Earth time and stacks additively with the effects of Abdhaljs Seals to yield a total of five times the normal amount.
Ambuscade Gallantry Campaign
- When this Monthly Adventurer Campaign is active, the number of Badges of Gallantry earned from Normal and Intense Ambuscades will be doubled once per Earth day.
- This bonus will reset at Japanese Midnight Earth time and stacks with the effects of Abdhaljs Seals.
- Using a seal during the Campaign stacks multiplicatively, resulting in 6 times the usual Gallantry.
- This bonus will reset at Japanese Midnight Earth time and stacks with the effects of Abdhaljs Seals.
JSE Cape Augmentation
Job-specific Back equipment obtained with a  Ambuscade Voucher: Back can be augmented by trading them along with certain items to Gorpa-Masorpa.
- See the
 JSE capes page for augment information for the Job Specific Capes.
To augment a cape:
- Trade the item to Gorpa-Masorpa along with either an Abdhaljs Thread, Abdhaljs Dust, Abdhaljs Sap, Abdhaljs Dye or an Abdhaljs Resin.
- Select the desired attribute, and confirm your choice. After the initial trade, you can max out that path on your next trade if you also trade enough materials.
- Augments may be changed by repeating the above steps.
- Changing the augment path will not return any items used up to that point.
- However, when using an
 Abdhaljs Needle to change the augment, the current potency is maintained.
- However, when using an
- Further trading an augmented item with items corresponding to the attribute initially selected will increase the strength of the augmentation.
- For maximum strength augments the following are all required per cape:
 Abdhaljs Thread x20,
  Abdhaljs Dust x20,
  Abdhaljs Sap x10,
  Abdhaljs Dye x10,
  Abdhaljs Resin x5
Armor Upgrade
To upgrade Salvage Armor Variant Ambuscade Armor trade either the NQ or +1 variant and the requisite  Abdhaljs Metals to Gorpa-Masorpa:
| Base Armor |  Trade Trade
|
Armor Piece +1 | Trade
|
Armor Piece +2 | Jobs |
|---|---|---|---|---|---|
 Sulevia's Sulevia's
|

|
 Sulevia's +1 Sulevia's +1
|

|
 Sulevia's +2 Sulevia's +2
|
WAR / PLD / DRK / DRG |
 Hizamaru Hizamaru
|
 Hizamaru +1 Hizamaru +1
|
 Hizamaru +2 Hizamaru +2
|
MNK / NIN / SAM / PUP | ||
 Inyanga Inyanga
|
 Inyanga +1 Inyanga +1
|
 Inyanga +2 Inyanga +2
|
WHM / BRD / SMN | ||
 Meghanada Meghanada
|
 Meghanada +1 Meghanada +1
|
 Meghanada +2 Meghanada +2
|
THF / RNG / BST / COR / DNC / RUN | ||
 Jhakri Jhakri
|
 Jhakri +1 Jhakri +1
|
 Jhakri +2 Jhakri +2
|
BLM / RDM / BLU / SCH / GEO |
To upgrade Limbus and Nyzul Armor Variant Ambuscade Armor trade either the NQ or +1 variant and the requisite  Abdhaljs Fibers to Gorpa-Masorpa:
| Base Armor | Trade
|
Armor Piece +1 | Trade
|
Armor Piece +2 | Jobs |
|---|---|---|---|---|---|
 Flamma Flamma
|

|
 Flamma +1 Flamma +1
|

|
 Flamma +2 Flamma +2
|
WAR / PLD / DRK / SAM / DRG |
 Tali'ah Tali'ah
|
 Tali'ah +1 Tali'ah +1
|
 Tali'ah +2 Tali'ah +2
|
BST / PUP / SMN | ||
 Mummu Mummu
|
 Mummu +1 Mummu +1
|
 Mummu +2 Mummu +2
|
MNK / THF / RNG / NIN / COR / DNC | ||
 Ayanmo Ayanmo
|
 Ayanmo +1 Ayanmo +1
|
 Ayanmo +2 Ayanmo +2
|
WHM / RDM / BRD / BLU / RUN | ||
 Mallquis Mallquis
|
 Mallquis +1 Mallquis +1
|
File:Mallquis Chapeau +2 icon.png Mallquis +2 | BLM / SCH / GEO |
Ambuscade Weapons
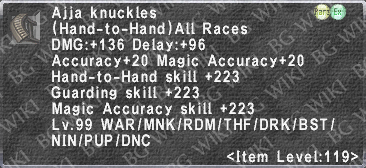
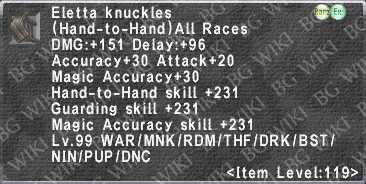
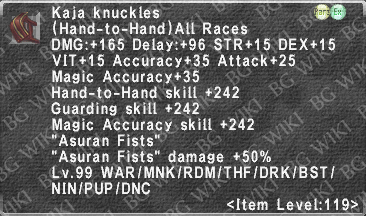
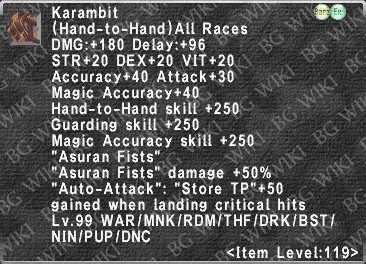
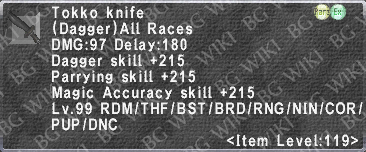
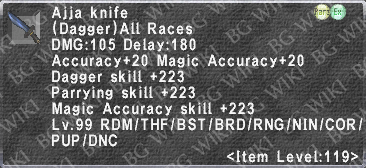
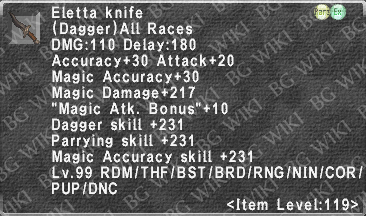
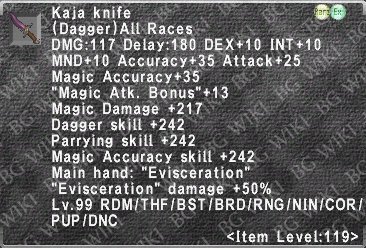
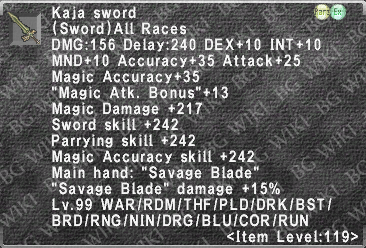
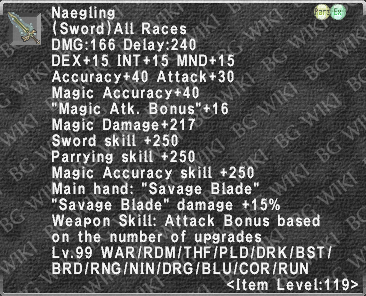
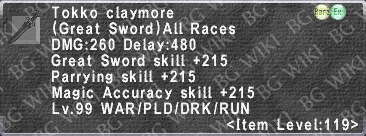
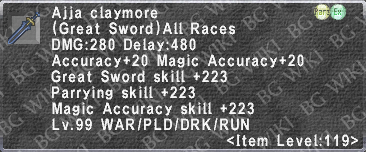
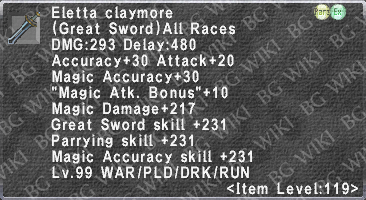
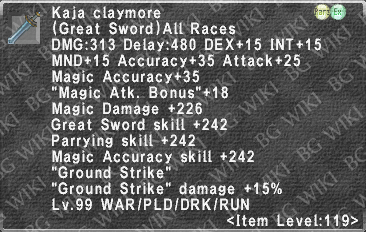
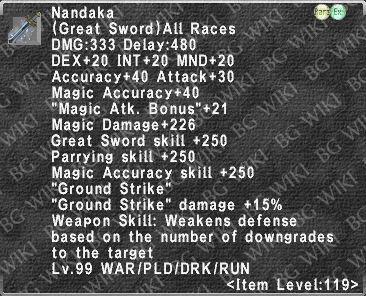
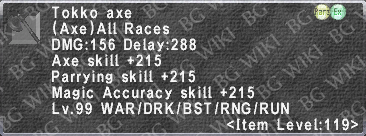
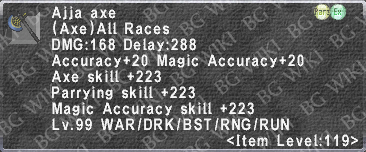
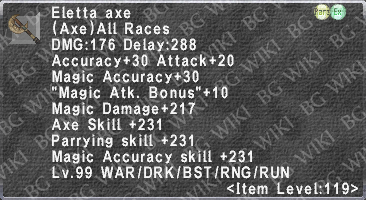
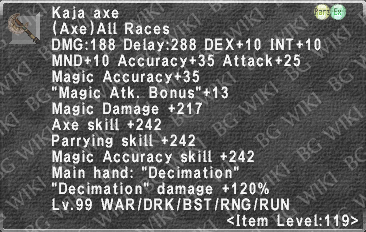
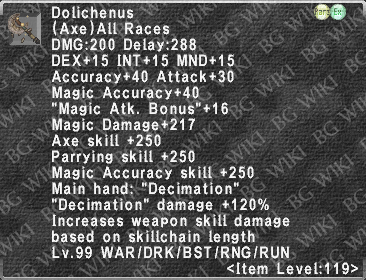
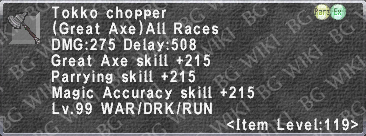
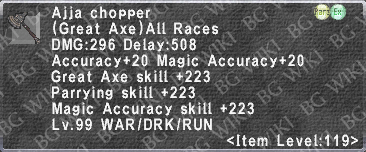
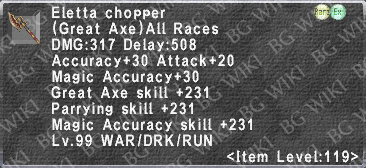
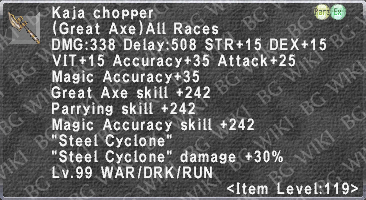
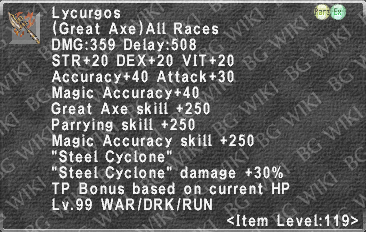
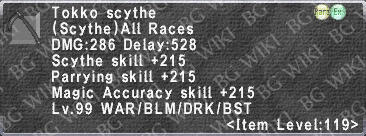
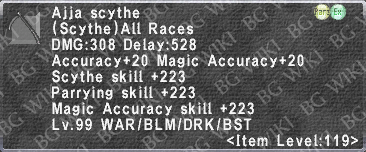
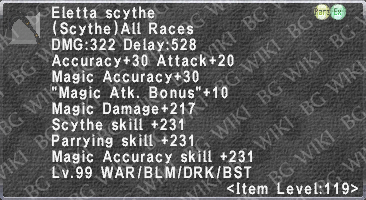
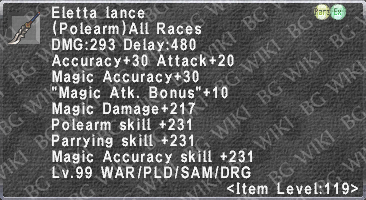
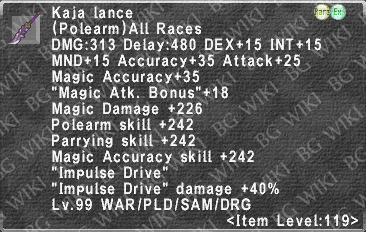
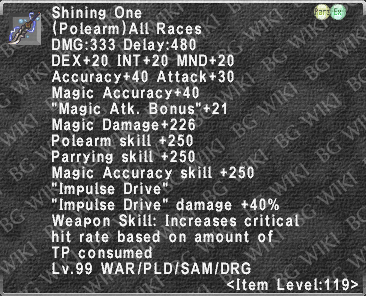
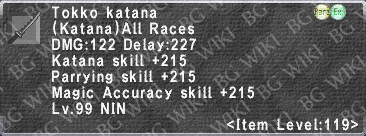
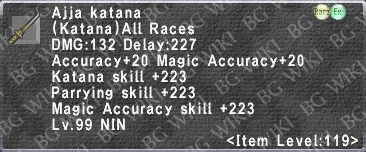
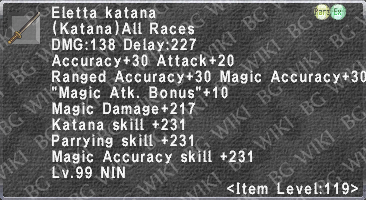
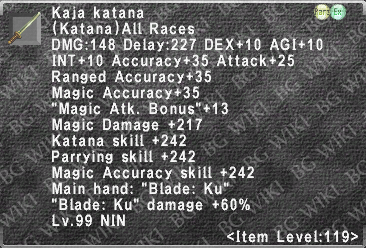
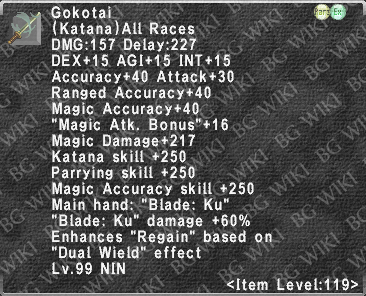
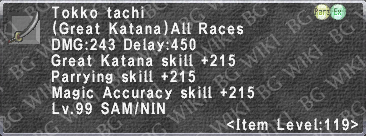
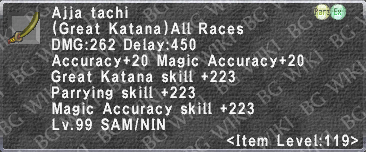
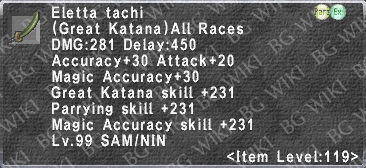
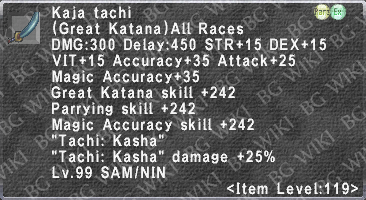
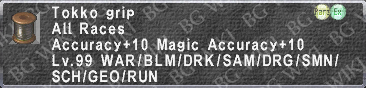
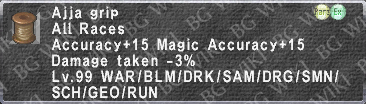
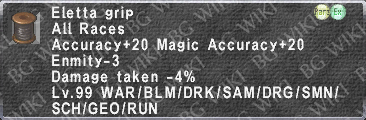
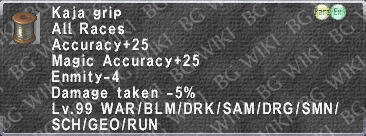
Speaking with Gorpa-Masorpa and listening to the message from Abdhaljs will allow you to exchange an  Ambuscade Voucher: Weapon for a weapon of your choice or the grip.
Each stage is then upgraded as follows:
 Abdhaljs Nugget x5 (1,500 Total Hallmarks / 4,500 Total Gallantry)
 Abdhaljs Gem x5 (2,500 Total Hallmarks / 7,500 Total Gallantry)
 Abdhaljs Anima x5 (4,000 Total Hallmarks / 12,000 Total Gallantry)
 Abdhaljs Matter x5 (6,000 Total Hallmarks / 18,000 Total Gallantry) and one of any non-Ambuscade Pulse Weapon‡
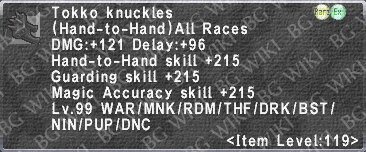
- Any means literally any. The Pulse Weapon type does not have to match up with your desired Ambuscade Weapons. For example, one could use Ephemeron to create Gokotai.
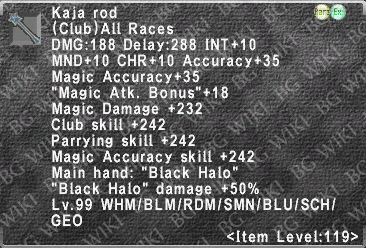
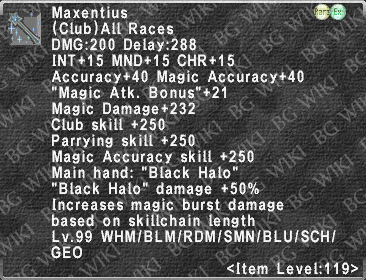
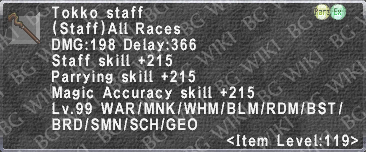
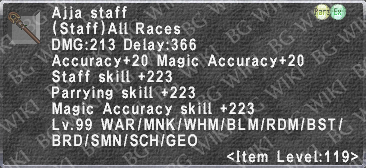
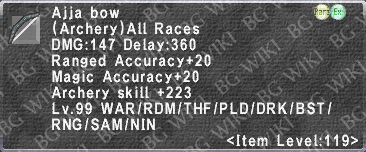
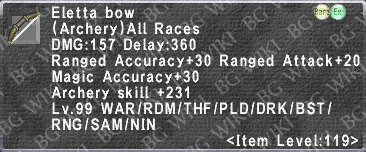
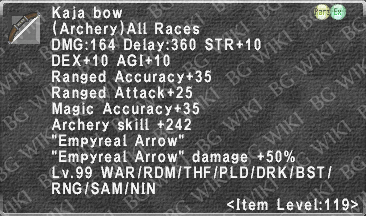
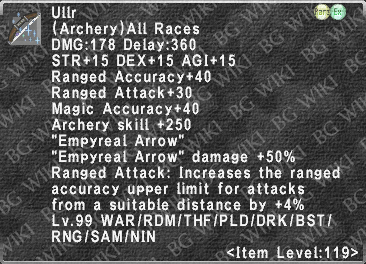
- Total Hallmark milestone rewards grant an Ambuscade Voucher: Weapon as well five(5) of each of the above upgrade materials (not including Pulse Weapon), allowing you to score a complimentary Kaja Weapon by collecting 5,300 Hallmarks, or (if you have a Pulse Weapon) a fully-upgraded Ambuscade Weapon by 9,600 Hallmarks, per monthly reset.
- Beyond the one complimentary item each month, additional Weapon Vouchers and upgrade materials may be purchased using Hallmarks or Gallantry. The full cost per weapon including the Weapon Voucher and upgrade materials comes to 15,000 Hallmarks or 48,000 Gallantry.














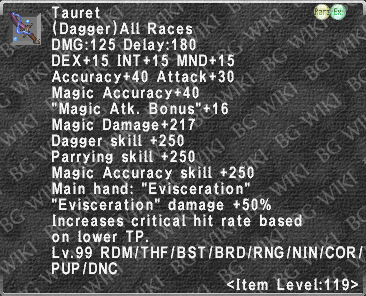

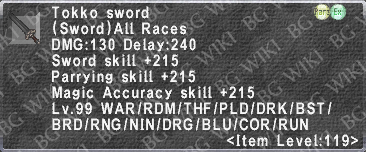

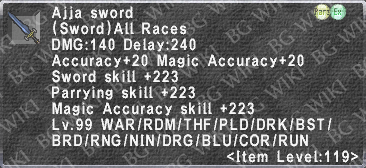

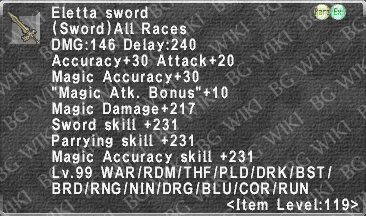





















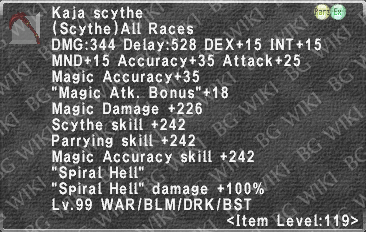

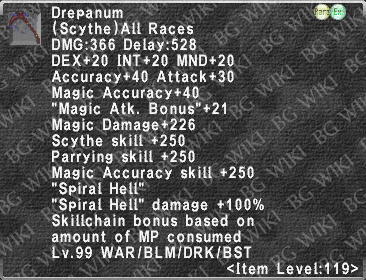

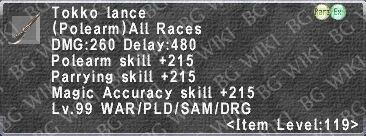

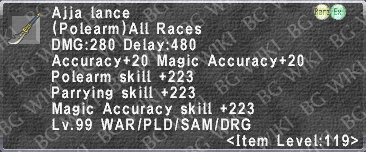













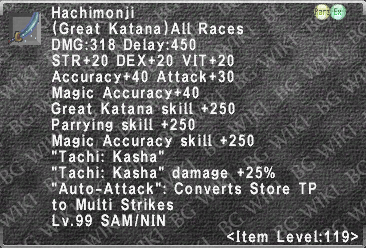

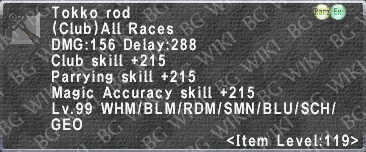

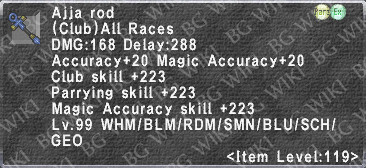

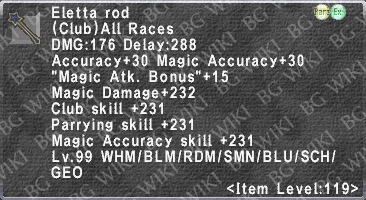





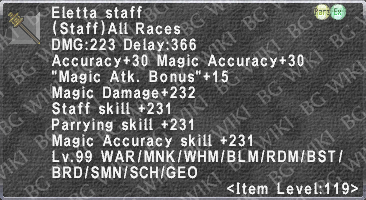

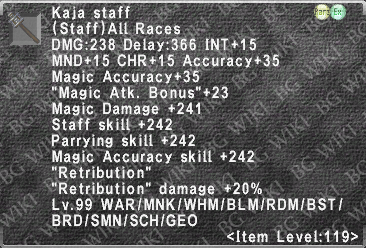

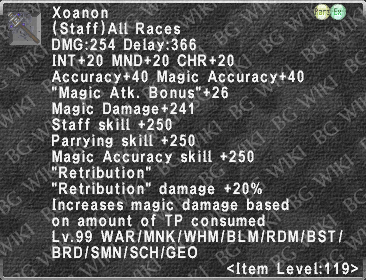

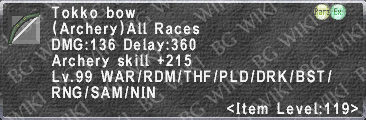









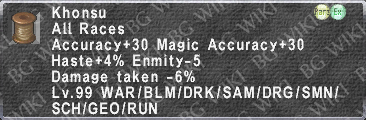
| ‡ Eligible Pulse Weapons |
Source | Potpourri Category |
|---|---|---|
 Sagasinger Sagasinger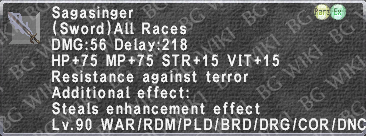 |
Arch Dynamis Lord | None |
 Ephemeron Ephemeron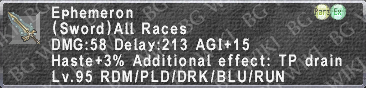 |
Aello | Voidwatcher Goodness 2 |
 Coruscanti Coruscanti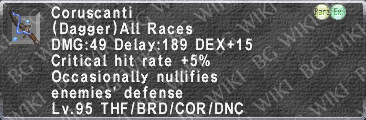 |
Qilin | Voidwatcher Goodness 2 |
 Murasamemaru Murasamemaru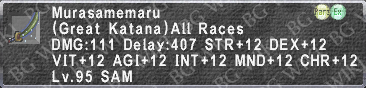 |
Uptala | Voidwatcher Goodness 2 |
 Borealis Borealis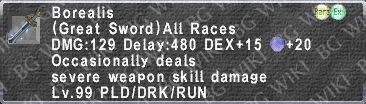 |
Ig-Alima | Voidwatcher Goodness 2 |
 Asteria Asteria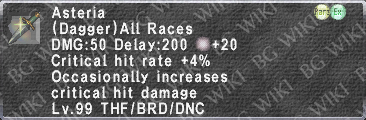 |
Botulus Rex | Voidwatcher Goodness 2 |
 Delphinius Delphinius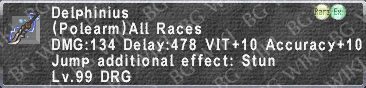 |
Bismarck | Voidwatcher Goodness 2 |
 Aytanri Aytanri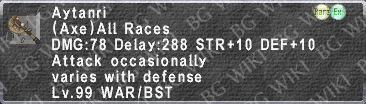 |
Morta | Voidwatcher Goodness 2 |
 Girru Girru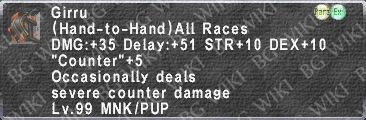 |
Paramount Gallu | Legion Clomper Goodness 2 |
 Ikarigiri Ikarigiri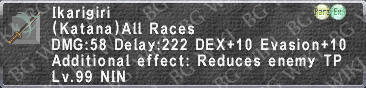 |
Paramount Botulus | Legion Clomper Goodness 2 |
 Tenkomaru Tenkomaru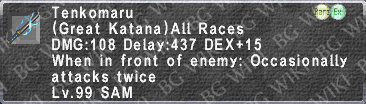 |
Svaha | Burrower Goodness 2 |
 Himthige Himthige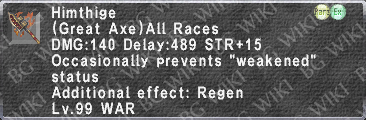 |
Grannus | Burrower Goodness 2 |
 Adflictio Adflictio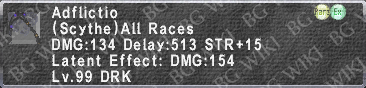 |
Samursk | Burrower Goodness 2 |
 Gusterion Gusterion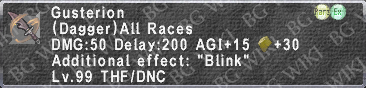 |
Dreyruk | Burrower Goodness 2 |
 Dukkha Dukkha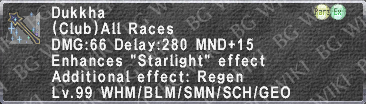 |
Silagilith | Burrower Goodness 2 |
 Chastisers Chastisers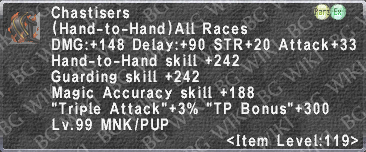 |
Urmahlullu | None |
 Router Router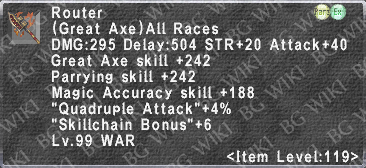 |
Fleetstalker | None |
 Annealed Lance Annealed Lance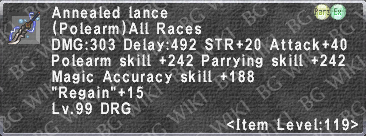 |
Shockmaw | None |
Pages in category "Ambuscade"
The following 27 pages are in this category, out of 27 total.
B
- Bozzetto Berserker
- Bozzetto Brawler
- Bozzetto Conjurer
- Bozzetto Crusader
- Bozzetto Devout
- Bozzetto Duelist
- Bozzetto Elementalist
- Bozzetto Erudite
- Bozzetto High Vicar
- Bozzetto Lancer
- Bozzetto Lyricist
- Bozzetto Moraingist
- Bozzetto Protector
- Bozzetto Pugilist
- Bozzetto Reaver
- Bozzetto Shinobi
- Bozzetto Stormbringer
- Bozzetto Swordsman
- Bozzetto Tamer
- Bozzetto Warlock